Not known Facts About Landscape Lighting Nashville
Wiki Article
The Ultimate Guide To Landscape Lighting Nashville
Table of ContentsLandscape Lighting Nashville Fundamentals ExplainedThe Ultimate Guide To Landscape Lighting NashvilleLandscape Lighting Nashville - QuestionsIndicators on Landscape Lighting Nashville You Should KnowLandscape Lighting Nashville for Beginners
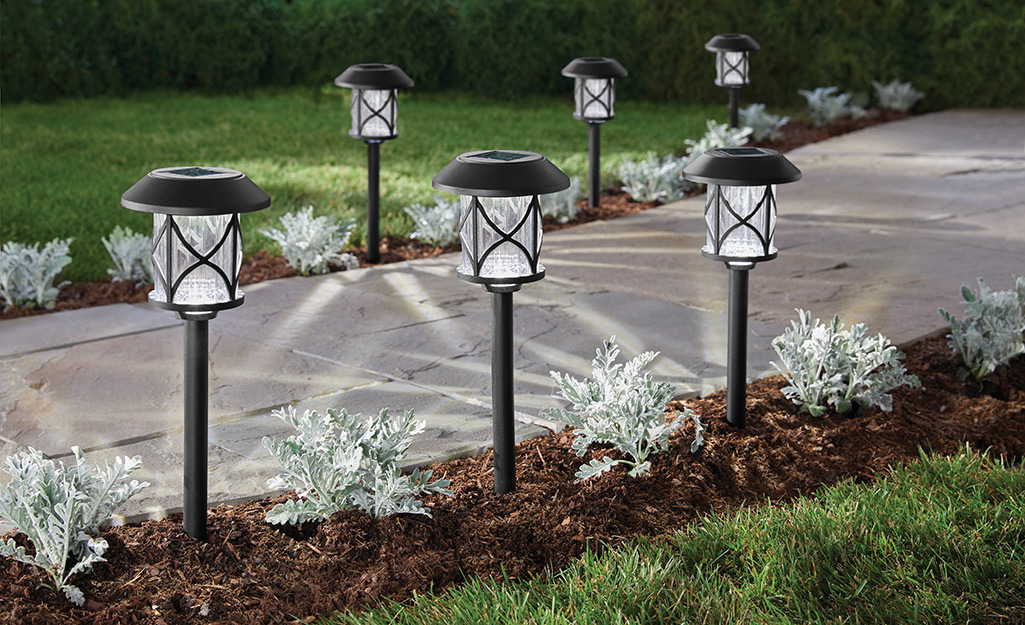
OK, you've obtained your lights and your power pack. Now you require to figure out the cord you'll need.You could do nine path lights for under 100 watts. The terrific thing is you can prevent figuring all this out and just get a kit it has every little thing you'll require in it: But if you intend to blend your lighting like I did (or you want more lights), you'll want to buy everything separately.
Experiment with it: Get an excellent idea of where you want them after the cable is mounted you won't have the ability to move them around a lot. When you're good with the location, get your cord: Lay it out from one light to the last light. I give myself a little provide in between lights so I can move them around a bit if required.
This is the enjoyable part.:-RRB- Bear in mind NOTHING is plugged in till the last action. You are not dealing with cords that can harm you. It's more unsafe to plug in a lamp.;-RRB- Each light has a little connector. You'll loosen the bottom component of it, after that run the wire via that bottom component and then screw the adapter back with each other: You see those sharp steel pieces in the photo to the left? Those are what pierce into the cord when you screw everything back with each other.
The Only Guide to Landscape Lighting Nashville
This undoubtedly keeps it water-free also. Maintain decreasing your cord and connect each light. When you get to the end where your lights will certainly be connected in, you'll reach the final step. This is the only part that entails dealing with the cables. Use a wire cutter to split the cable in fifty percent (it has a groove down the center).Do not turn both cords with each other turn the hairs of every one. Grab your power pack and transform it over. Remove the screws and simply put the cords into each section: I reveal two methods of doing it right here. I utilized the variation on the right so the cables wouldn't be subjected to the aspects as much.
This power pack has a spot for 2 cords to be linked into it. As lengthy as they equal to 200 watts or much less, you could have one set of landscape design lights going one direction from your electrical outlet, and one more set going the various other instructions. Set up the screws once again, seeing to it to tighten as high as you can: You're done! Whoot! Simply plug in your power pack and transform it on: These have a choice to maintain them on all the time, activate and after that remain on for one to nine hours or to switch on automatically when the sunlight decreases.
After you've obtained the bulbs mounted and it's on, you can adjust the positioning of your lights a bit. While I was at it I spray repainted our pipe guides that were looking a little worn: Spray paint strikes once again! You'll be shocked at exactly how wonderful it looks. Just a warning.
Landscape Lighting Nashville Fundamentals Explained
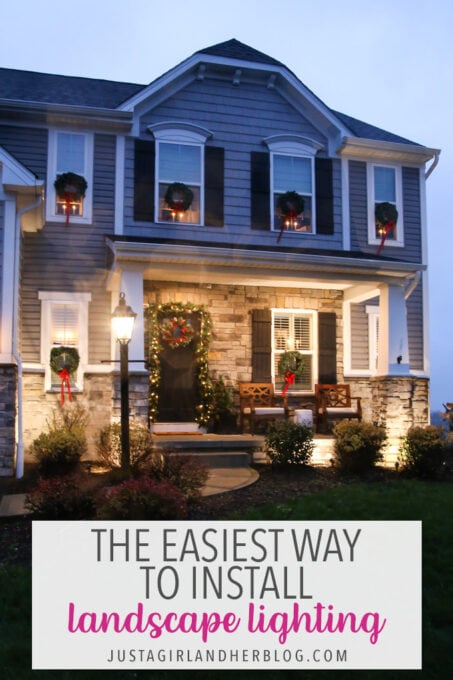
I have a couple of more plants I plan to include in this side too: The checklist never ends, inside or out, and I like it!:-RRB- I wish this tutorial aids those of you that want tackling this by yourself. Landscape Lighting Nashville. It is really among the most convenient diy tasksThe overall cost of my job was regarding $180, but that includes three lights I can use in other places and added next page cord. Also, as I discussed, the power pack was more than I required, so I'll get a less expensive one and move that to the back when I begin the lights around the deck and outdoor patio.
Make a decision whether you desire a plug-and-play set up or if you're comfy working with lights that have pigtail cord leads. Pigtail cables will certainly need the use of cable cutters, cord strippers, and silicone-filled twist-on cable ports or splice ports to tie into your major landscape line.
Transfer those measurements to your sketch. Think of light positioning and whether the fixture or any type of devices will enter call with mowers or trimmers. This will certainly aid you get a clear photo of the very best circuitry approach and just how much wire you'll require. There are several ways you can wire your lights to minimize the imp source quantity of cord needed or avoid a power problem called voltage drop.
Unknown Facts About Landscape Lighting Nashville
You can also use a voltmeter to evaluate what each light receives after you wire them to the transformer. The daisy-chain technique entails end-to-end connection within a series of fixtures where just one end component is attached to the transformer. You can save cable by utilizing this method, however it is not suitable for teams of scattered lights.I have a couple of more plants I prepare he has a good point to include to this side also: The listing never ends, inside or out, and I like it!:-RRB- I wish this tutorial assists those of you that are interested in tackling this by yourself. It is really one of the easiest diy projects.
The complete expense of my job was about $180, yet that consists of three lights I can use somewhere else and additional cord. As I stated, the power pack was more than I required, so I'll get a cheaper one and move that to the back when I start the lights around the deck and outdoor patio.
Choose whether you desire a plug-and-play mount or if you're comfy functioning with lights that have pigtail wire leads. Pigtail cables will call for the use of cord cutters, cable pole dancers, and silicone-filled twist-on cable adapters or splice ports to tie right into your major landscape line.
Top Guidelines Of Landscape Lighting Nashville
You can additionally make use of a voltmeter to test what each light gets after you wire them to the transformer. The daisy-chain approach entails end-to-end connection within a collection of fixtures where just one end fixture is connected to the transformer - Landscape Lighting Nashville. You can save cable by utilizing this approach, but it is not suitable for teams of spread lights
Report this wiki page